Single Serving Desserts: Deconstructed Lemon Meringue Pie
Posted by Adam Merran on Aug 17th 2015
 From an early age, we are taught that sharing is caring. While going through life, it turns out that in most situations, this adage holds true. In fact, it’s proven that giving and sharing with others actually makes your happier. This is great news for humanity, but as someone who protects her food like a mother would protect her young, the thought of having to share my plate with others troubles me. Not for any real rational reason. I know there is no threat of food shortage and even if something does run out, I could always get more. I think it has to do with the connection that I make with my plate of food. Many times, dishes are structured in such a way that you must take a bite of each component to understand the chef’s full vision.
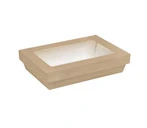
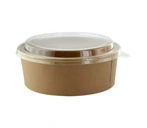
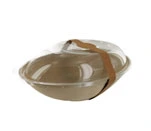
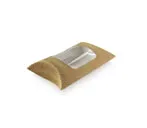
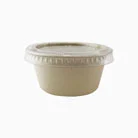
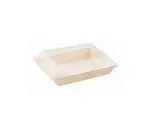
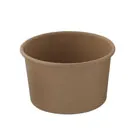
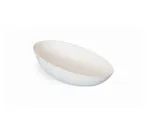
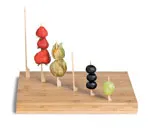
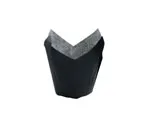
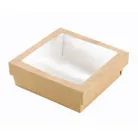
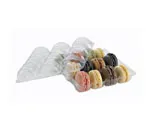
So how does one solve such a pressing dilemma? With single serve cups, that’s how! Lucky for you, Packnwood has a wide variety of cups, plates and utensils that are ideal for single servings. Below we’re going to cover the benefits of individual serving portions and if after reading, you still have an urge to share, you can always give your plate away.
Portion Control
It turns out that our eating decisions have little to do with how hungry we are and are influenced by the visual cues around us. So if we’re presented with a larger plate, we will most likely eat more. When you eat from an individually plated portion, chances are you won’t go back for seconds. You will have more control over the quantity that you eat and end up healthier and lighter.
Trying a Variety of Things
Taking a small portion is non-committal. Usually the dish is made of two to three bites, so if you decide that you don’t like the dish, there is less guilt involved in not finishing it and less of a problem sucking it up and finishing it.
No Need to Share
A friend who tries to stick his utensil into my individual serving plate is no friend of mine. Just kidding. But really, you can rest easy knowing that the chances of someone taking a bite out of your plate are low.
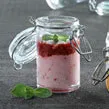
Individual serving dishes let you be more creative, as you have limited space to create a complete and cohesive dish. Thus, the idea for this deconstructed lemon meringue pie was born. It’s equally tasty as the full pie version and an advantage is that you can have it go! If you are interested in the serving cups we used, you find them here and here. Don’t forget to let us know what your favorite single serving dishes are in the comments.
Deconstructed Lemon Meringue Pie

Makes 12 individual serving cups
For the meringue topping:
- 5 oz. super fine sugar
- 3 oz. egg whites at room temperature
- 1 oz. water
For the lemon curd filling:
- 125 ml. (1/2 cup) freshly-squeezed lemon juice
- 100 g. (1/3 cup) sugar
- 2 large egg yolks
- 2 large eggs
- pinch of salt
- 85 g. (6 Tbsp.) unsalted butter, cubed
For the crumble:
- 1 cup of short bread cookies of your choice, pulsed to coarse crumbs in a food processor
For the meringue:
1. Combined the sugar and water in a small pan.
2. Cook syrup bringing it to a first temperature of 230F. Once the syrup reaches 230F, start whisking the egg whites in a clean, grease-free bowl with an electric mixer on medium speed.
3. At the same time, continue heating the sugar syrup to a final temperature of 245F. By now the egg whites should be a mousse like consistency. Reduce the mixer speed to low and continue beating the whites while pouring the syrup at 245F into the egg whites in a continuous steady stream.
4. Once the syrup has all been added increase the speed of the mixer to medium high and continue beating until the meringue thickens and cools. Set aside.
For the lemon curd:
1. Place a mesh strainer over a bowl and set aside
2. In a medium saucepan, whisk together the lemon juice, sugar, egg yolks, eggs and salt
3. Add the butter cubes and set the pan over low heat, whisking constantly until the butter is melted.
4. Increase the heat and cook over moderate heat, whisking constantly, until the mixture thickens and just begins to become jelly-like. It’s done when you lift the whisk and the mixture holds its shape when it falls back into the saucepan from the whisk.
5. Immediately press the curd through the strainer. Once strained, store the lemon curd in the refrigerator until ready to assemble
To assemble: In a glass, layer the lemon curd, followed by the crumble and then by the meringue.

